Burnt out self-drilling fasteners increases the cost to your sheeting and cladding project, which is why using the right tools is critical.

With the hardness—or tensile strength—of metal purlins, rails and spacer bars increasing, so have the burn-out rates of self-drilling fasteners. However, the majority fastener-related problems encountered on site are simply caused by installers of sheeting and cladding using the wrong installation tools at the wrong speeds, as well as poor technique. Let’s tackle this last point first.
Avoid excessive bodyweight
It might seem the natural thing to do, especially on thicker, hot-rolled or heavy section steel supports, but avoid the temptation of applying too much bodyweight while the fastener is drilling. It simply increases the risk of the fastener burning out because you are effectively increasing the end load.
Avoid high-speed drilling
Given the increase in the hardness of steel, you might assume that fixing self-drilling fasteners at very high speeds is the thing to do. However, drill points don’t actually perform that well at high speeds and if the first attempt at drilling a hole has failed, the case hardening of the support steel makes subsequent attempts even more difficult. This is why the NFRC recommends a maximum of 2000 rpm. Yes, this may seem counter-intuitive, but the burn-out rate will be substantially less and you’ll avoid adding costs of and increased installation times.
Use the right tool for the job
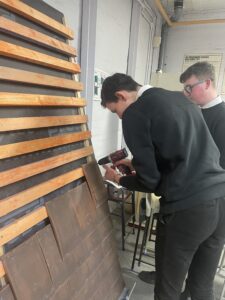
Precision-engineered fasteners require compatible tools to optimise the installation time and ensure the quality of the attachment. Screw gun, which ensure the optimum mechanical performance of a self-drilling fastener is obtained and so guarantee the integrity of the building envelope, should therefore always be used. Never use an impact driver as its repetitive action can, among other things lead to drilling failures, reduce the fastener’s pull-out performance and strip its moulded head. Neither should you use a drywall screw gun, which operate well over 2000 rpm.
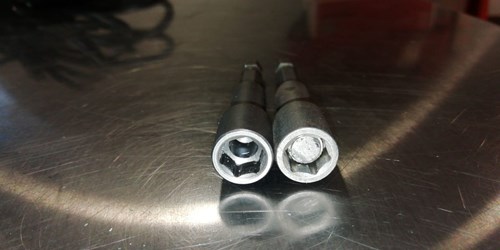
Use a 110 V or battery-powered cordless screw gun with a compatible socket/bit and fitted with a depth-locating nose piece, unless the fastener design incorporates features to prevent overdriving. This nose piece should ideally have tapered sides allowing the installer to check the EDPM washer compression during installation.
For bi-hexagonal (nylon moulded heads), hexagonal and other external drive fasteners, the socket must be deep enough so that the drive is on the flange at the base of the fastener head. This makes drilling more efficient, as well as preventing damage to the fastener head, which particularly relevant to magnetic sockets where on some designs the magnet is very shallow and could damage the coating on the fastener head.
Screw gun speed selection
Below is guidance from the leading fastener manufacturers for a screw gun speed selection when installing self-drilling fasteners into the different types of steel encountered on site:
- Installing fasteners into Light Section Rail: 1800 – 2000 rpm
- Installing fasteners into Heavy Section Rail: 1800 rpm max
- Installing stitchers into two layers of 0.7 mm thick steel 1800-2000 rpm
This information is taken from the NFRC’s Guidance Note Self Drilling Fasteners—Installation tools for self-drilling fasteners (GN01) available to NFRC members.


